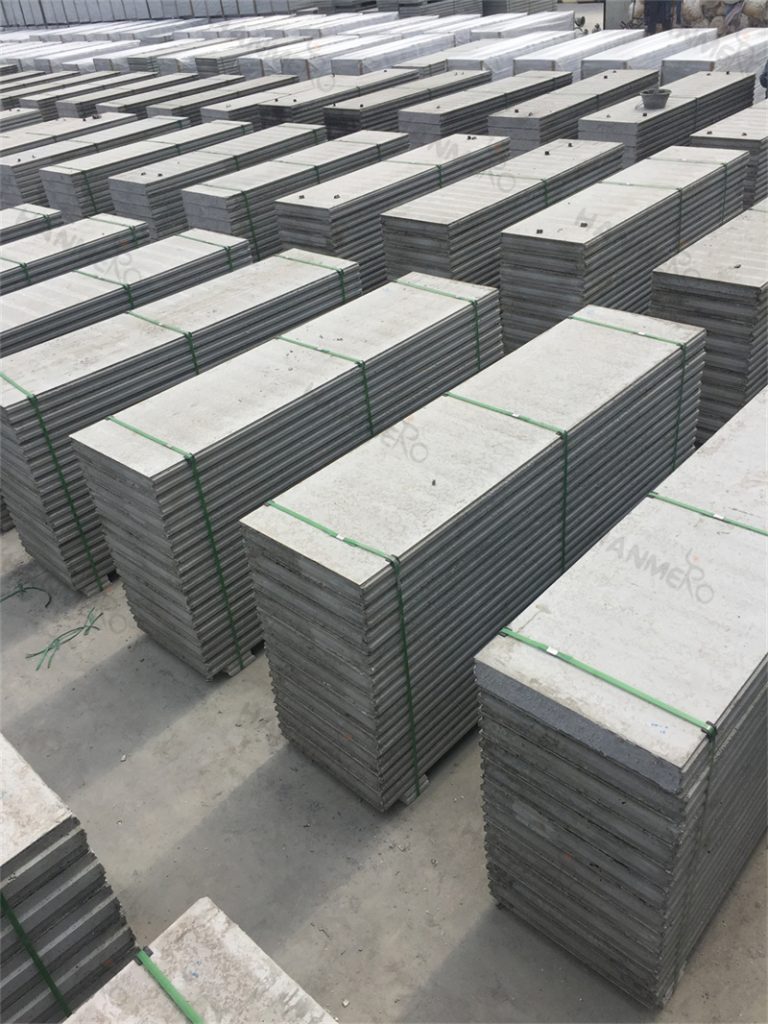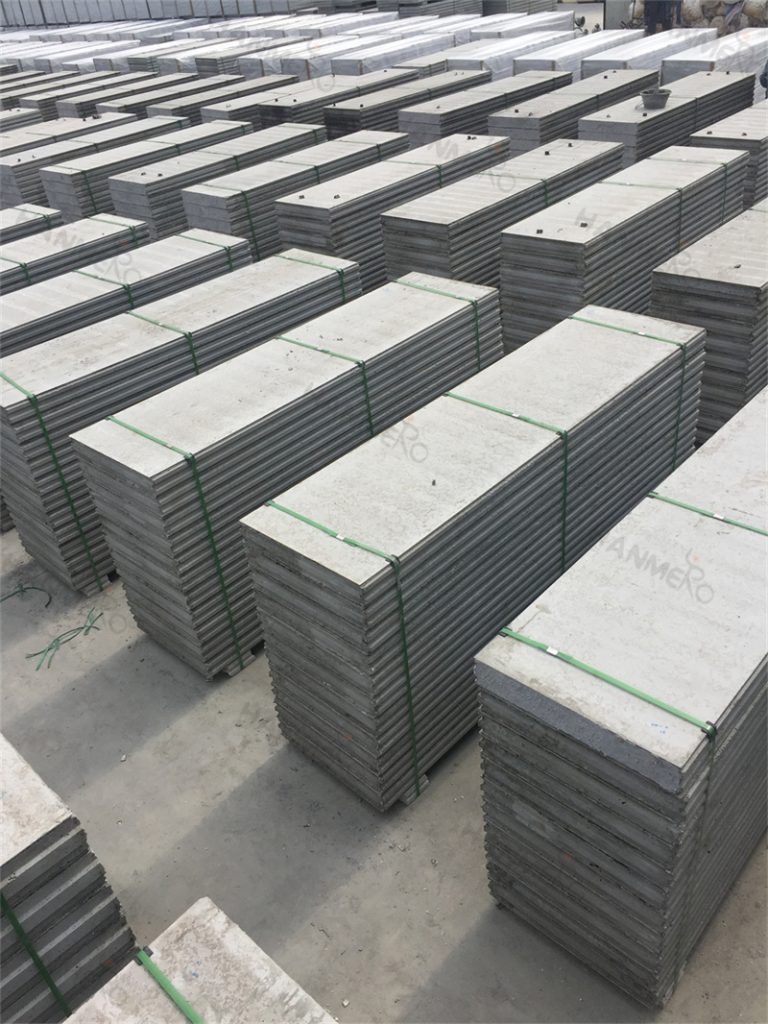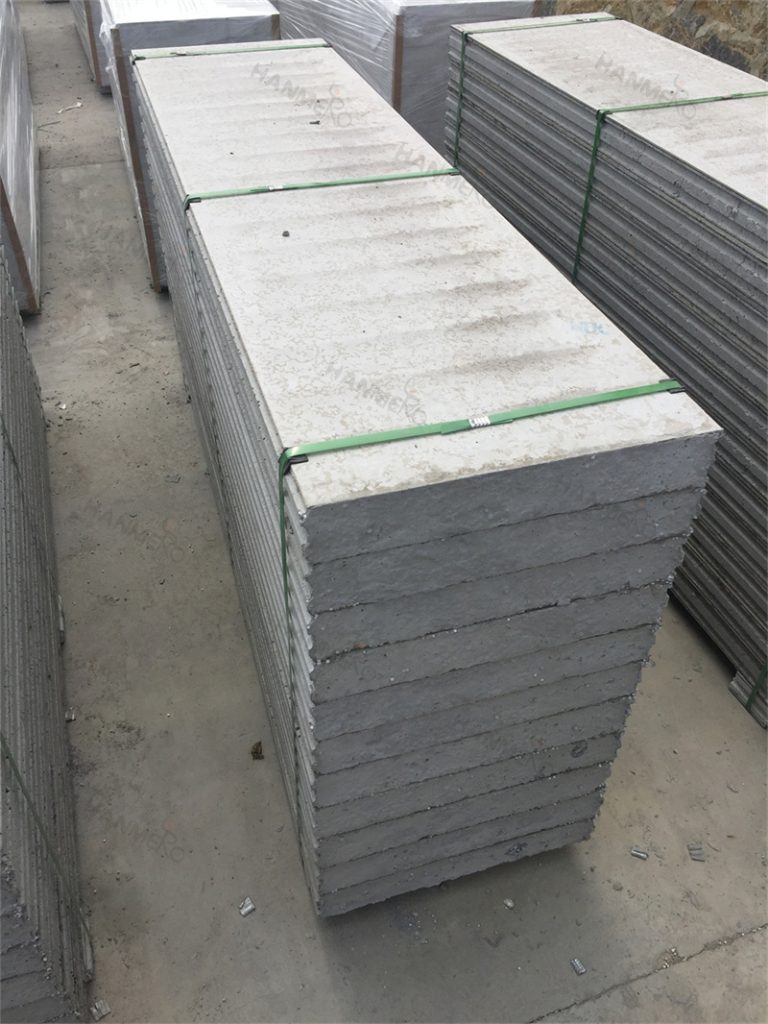
One of the biggest advantages of EPS Cement Sandwich Wall Panel is that it comes with a smooth factory finished cement surface that is ready for almost any kind of wall decoration, but there are a few special preparation steps you need to follow to get a perfect long lasting painting and finishing result. If you skip these simple steps, you might end up with peeling paint, uneven color or cracked joints a few months after you finish decorating, which is completely avoidable with correct preparation.
Before you start any finishing work on your new EPS Cement Sandwich Wall Panel, first check all the panel joints and screw heads. All the joints between panels should be filled with flexible joint filler, and covered with a layer of fine mesh joint tape to prevent any small cracks from appearing later. After the filler is fully cured, use fine 200 grit sandpaper to gently sand the entire wall surface, to remove any small bumps, excess filler and the very thin loose release agent layer that remains on the cement panel surface from the factory. Then wipe the entire wall completely with a dry clean cloth to remove all sanding dust.
The next critical step is to apply one full coat of high quality alkali resistant wall primer across the entire EPS Cement Sandwich Wall Panel surface. The cement panel surface has slight natural alkalinity, and if you apply topcoat paint directly without primer, the alkali in the cement will react with the paint and cause discoloration or peeling after a few months. Once the primer is fully dried, you can apply two coats of your chosen interior or exterior wall topcoat paint. If you want to apply wallpaper, ceramic tiles, stone veneer or other wall finishes, you can do it directly on the primed panel surface, no extra special base layer is needed. Following these simple steps will ensure your finished wall stays in perfect condition for more than 10 years without peeling or cracking.