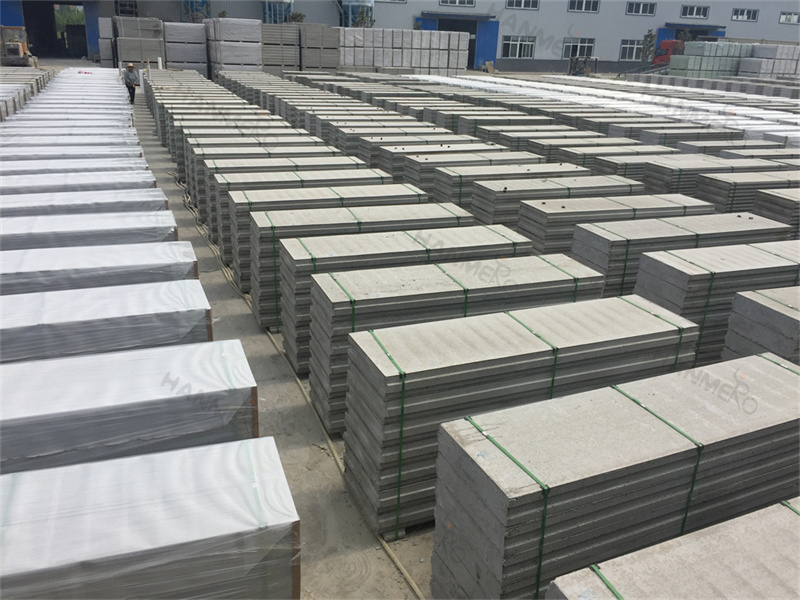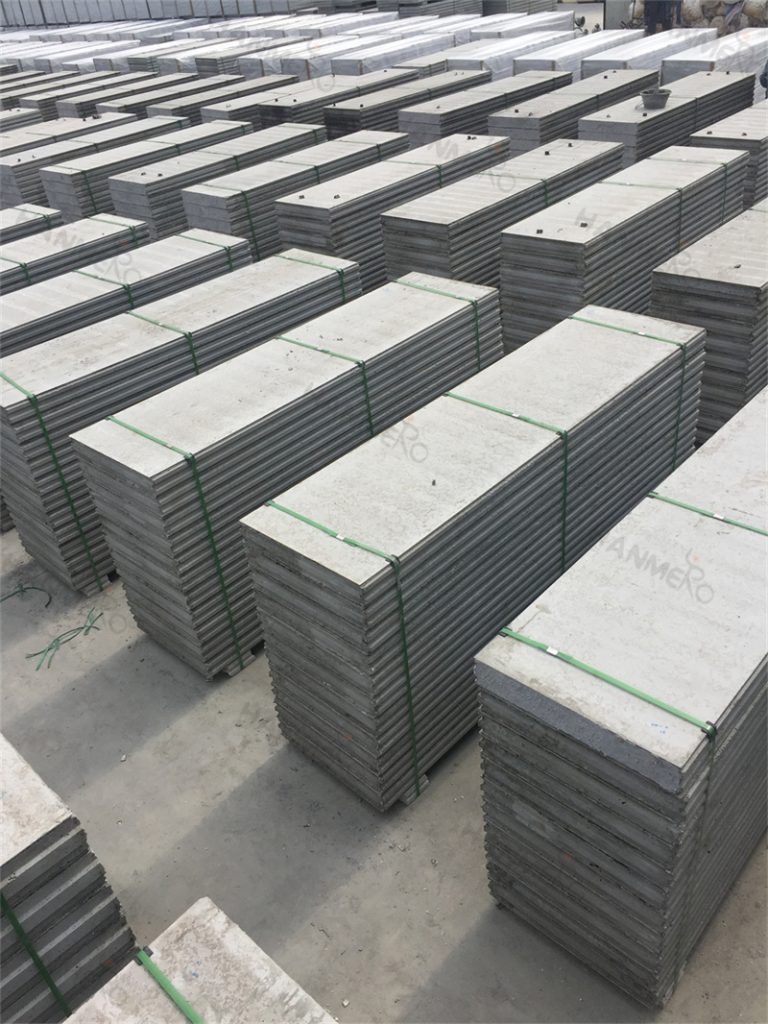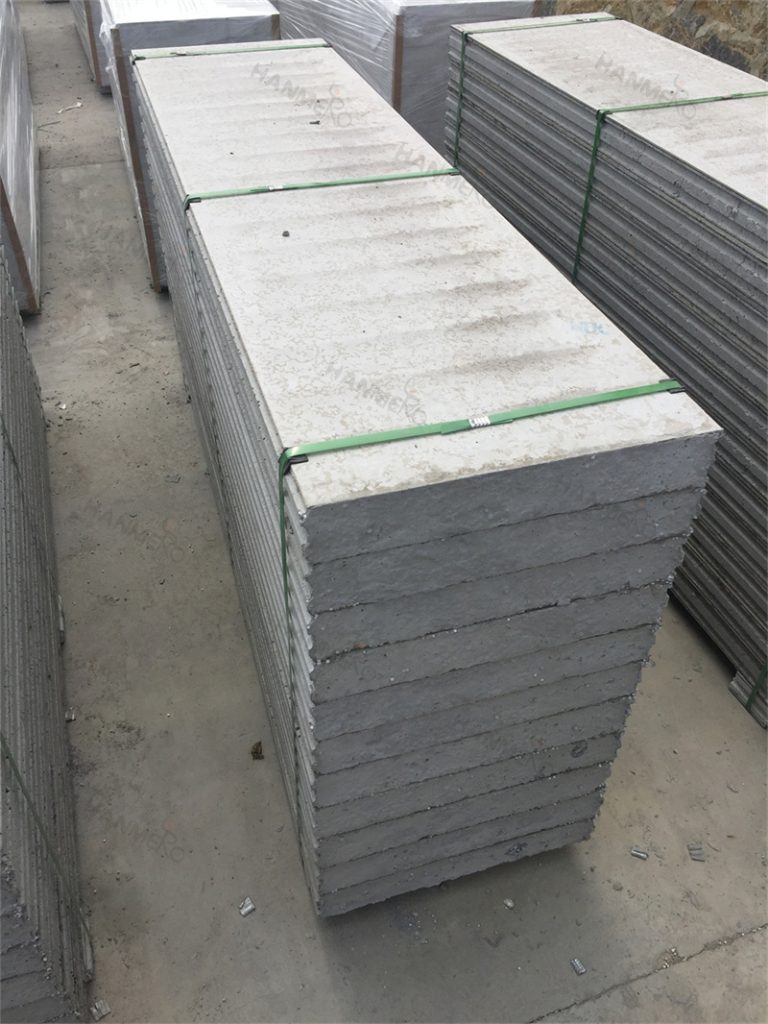
Correct installation method is the key to make sure your EPS Cement Sandwich Panel can deliver all the performance advantages that the product promises. Before you start the installation work, you need to prepare all necessary tools including measuring tape, electric saw, screwdrivers, special connecting fittings and level ruler. First, you should clean up the entire installation area on the ground and the top floor slab, mark the exact position lines for each panel according to your construction drawing. Place the first EPS Cement Sandwich Panel on the marked position, adjust it with the level ruler to make sure it is completely vertical, then fix it firmly to the ground base and top structure with special metal connectors. When you install the next adjacent EPS Cement Sandwich Panel, apply a thin layer of special sealing mortar on the connection edge of the previous panel, then push the new panel tightly against it to make sure there is no visible gap between the two panels. After you finish installing all the panels in one wall section, check all the connecting points again to make sure every screw and fitting is fastened properly. For areas where you need to install doors and windows, cut the EPS Cement Sandwich Panel accurately according to the size of the door or window frame with a professional electric saw, never use brute force to break the panel which may cause unnecessary internal damage. After all panels are installed, you can apply a thin layer of anti crack mesh tape on all the panel joints, then spread a thin layer of putty to make the entire wall surface completely smooth. Following these correct steps will help you get a perfect wall system made of EPS Cement Sandwich Panel that is stable, durable and free of common quality issues like joint cracking.