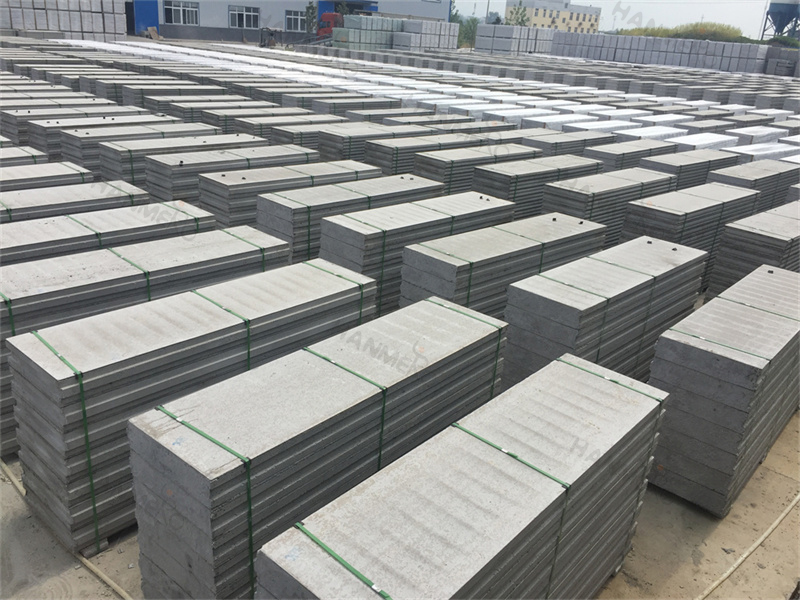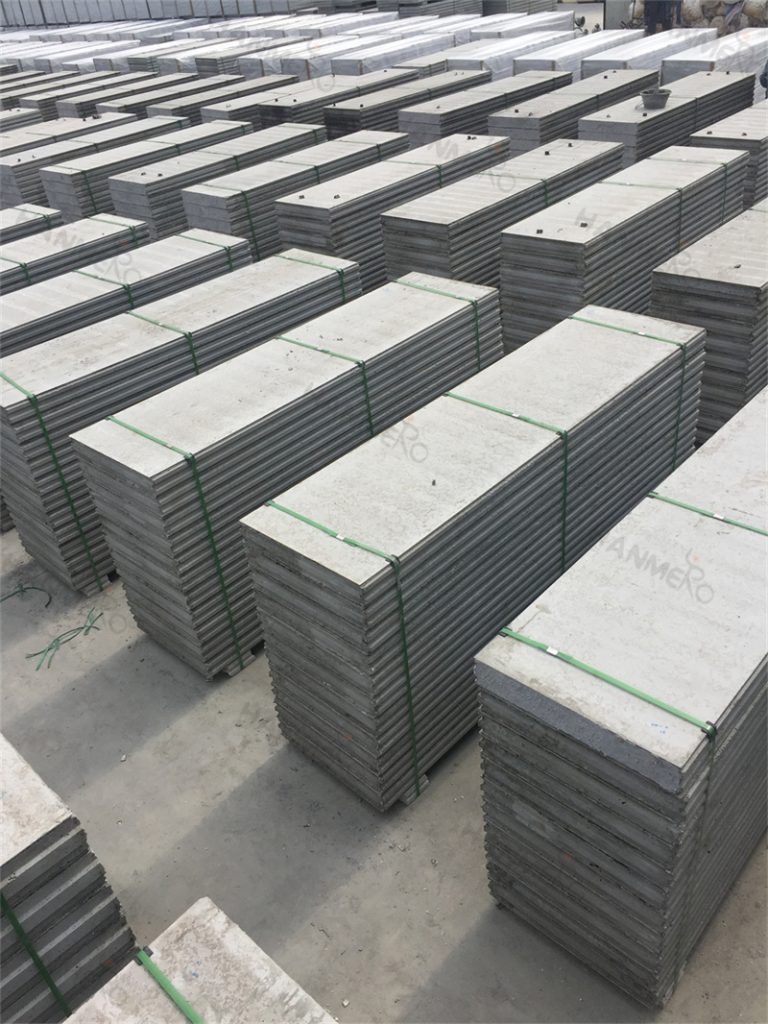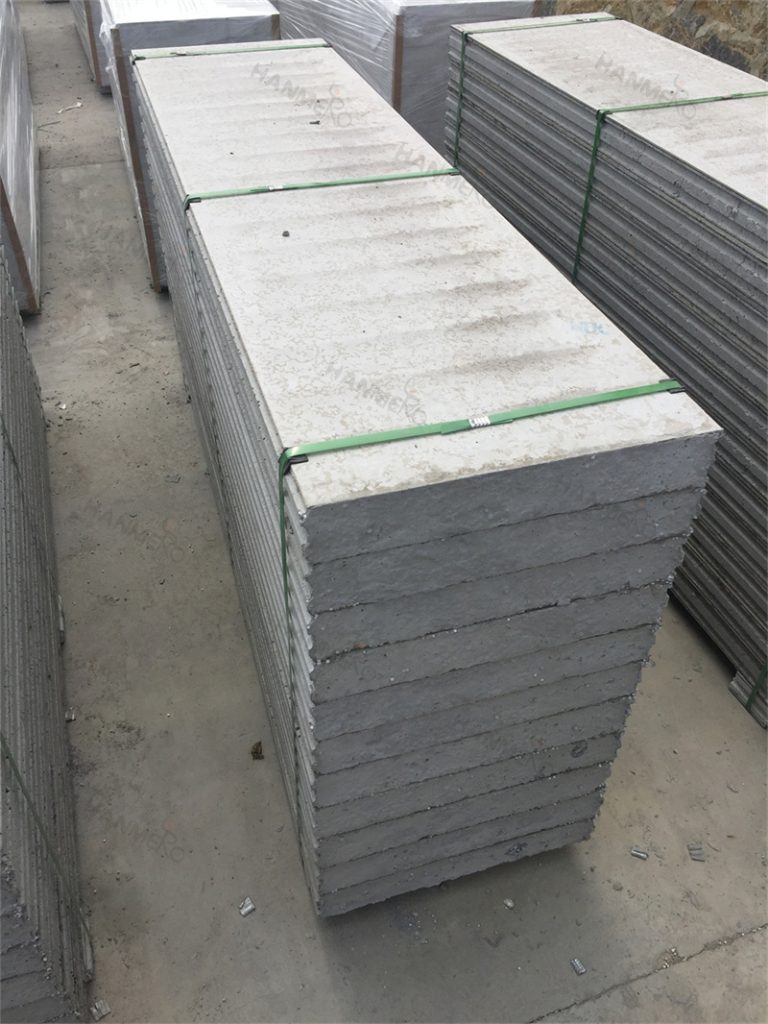
Proper installation is the key to unlocking all the performance benefits that the EPS Cement Sandwich Panel has to offer for your commercial partition project, and following a simple standardized process will ensure you get a strong, long lasting, perfectly finished wall every single time. The first step is to prepare your floor and ceiling tracks, making sure they are perfectly aligned and secured to the structural floor slab and ceiling joists with heavy duty anchor bolts. Once the tracks are firmly in place, you can lift your first pre cut EPS Cement Sandwich Panel into position, slotting the bottom edge into the floor track and the top edge into the pre mounted ceiling track. Next, you connect the adjacent panel using the built in tongue and groove joint, applying a thin bead of recommended sealant along the joint edge before locking the two panels together to create a fully airtight, seamless connection. After all panels are positioned and secured, you can add matching trim pieces to cover the joints at the floor, ceiling and wall corners, before applying a thin skim coat of joint filler to the small gaps between panels for a perfectly smooth finish. The entire process requires no heavy wet mixing equipment, no long curing periods and produces almost no construction waste, making it far cleaner and more efficient than traditional masonry partition installation. Even teams that have never worked with this panel material before can complete a full commercial partition project after reviewing this simple step by step guide.