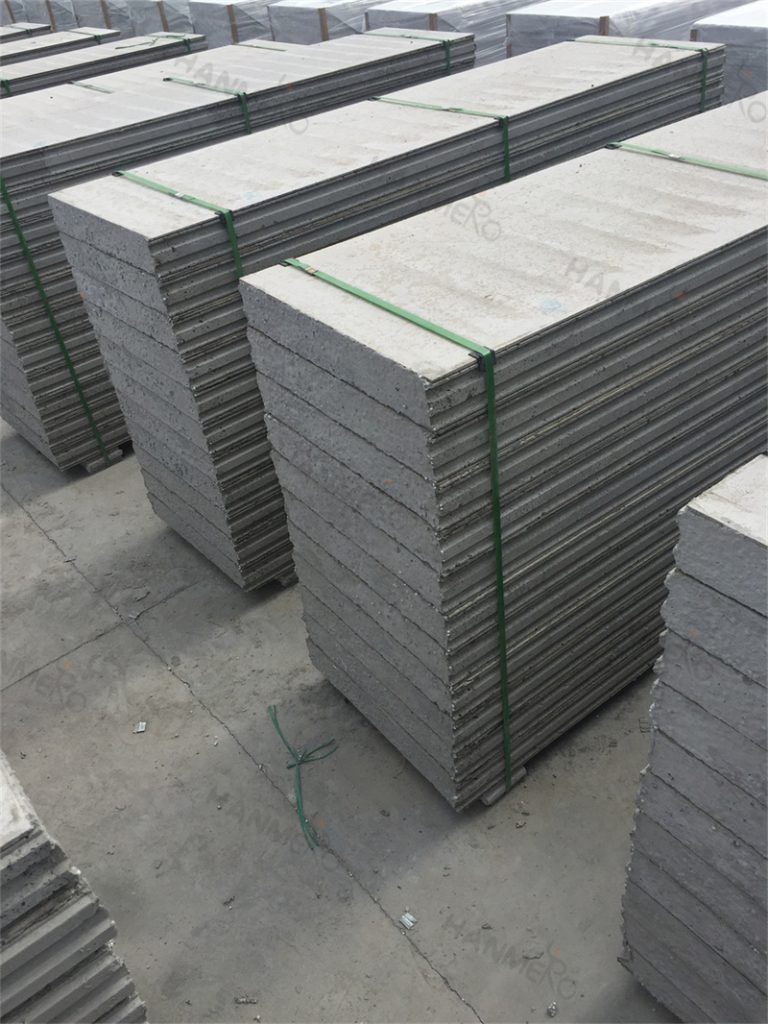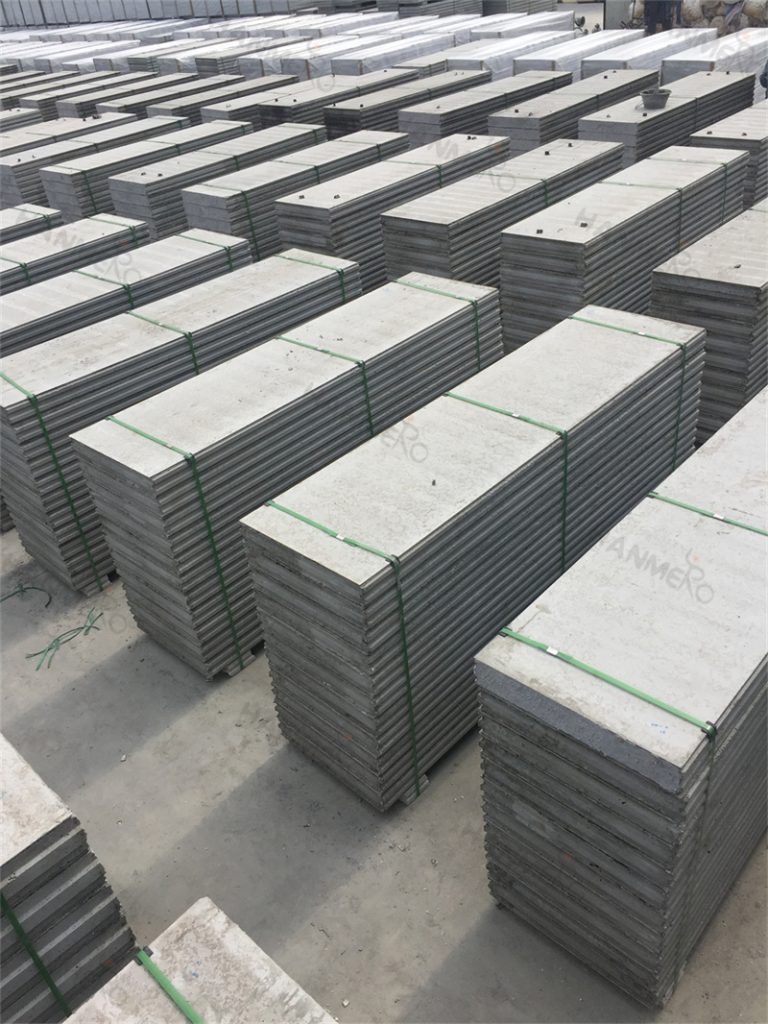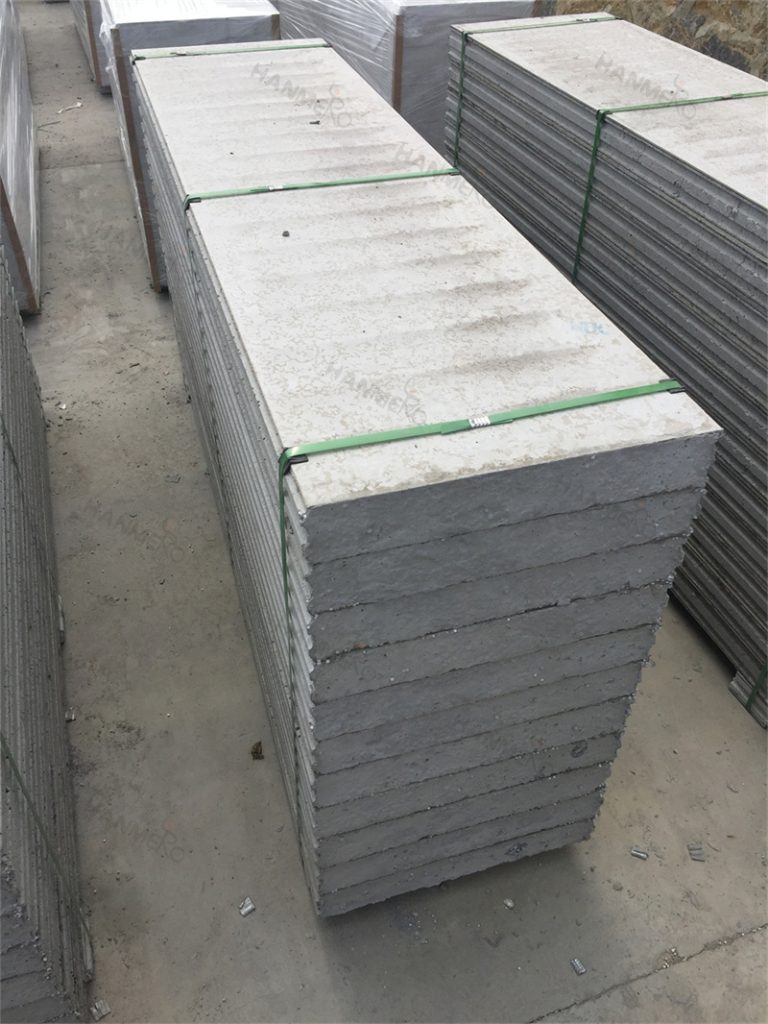
Buildings located in coastal seaside areas face very tough environmental challenges: constant high humidity, salt spray corrosion, heavy seasonal rain and strong sea wind. Many people have concerns about using EPS Cement Sandwich Wall Panel in these regions, but with a few simple correct waterproofing design and installation practices, the panels can deliver more than 25 years of perfect performance even in the harshest coastal conditions.
The first most important waterproofing step for coastal EPS Cement Sandwich Wall Panel installation is to create a full continuous waterproof barrier at all panel joints. Before assembling the panels on site, apply a thin continuous bead of butyl rubber sealant along the interlocking groove edge of each panel. This creates a fully sealed joint between adjacent panels, so rain water and salt moisture can never penetrate through the joint gap. Unlike regular silicone sealant, butyl rubber sealant is completely resistant to salt water corrosion and UV degradation, and it will not break down after 10+ years of exposure to coastal environment.
The bottom connection point between the lowest EPS Cement Sandwich Wall Panel and the building foundation is the second most critical waterproof weak point. You should install a full waterproof membrane layer between the panel bottom and the foundation concrete, and extend the membrane 150mm up the outer surface of the panel. Never let the bottom edge of the panel sit directly in pooled rain water on the ground. For the external wall surface, apply a full layer of flexible waterproof exterior wall paint after installation, to add an extra layer of protection against salt spray and heavy rain. When these simple steps are followed correctly, many completed coastal projects have proven that EPS Cement Sandwich Wall Panel can perform far better than traditional brick walls, which often suffer from salt efflorescence and internal moisture damage after a few years near the sea.